About the Player Settings Tool
Managing
Your Player’s General Configuration
Personalizing the Player’s
General Configuration
Managing Installed Applications
Viewing Information in
Installed Applications
Using Buttons in Installed
Applications
Viewing Application Properties
Managing Scheduled Applications
Managing Your Disk Space
Viewing Information in the Disk
Manager
Using the Buttons in the Disk
Manager
 Player Settings Tool
Overview
The tool enables you to control and manage the way in which the EXEtender Player uses your hard disk. It allows you to view information about your buffered and scheduled applications, such as the amount of space each application occupies on your hard drive.
With the tool, you can manage and allocate disk space for your buffered applications. For example, if you want to free up more space on your hard drive, the tool allows you to remove applications no longer needed. The tool permits you to keep you’re saved settings and “save game” files for a specific application, while just removing the application's buffered information, which contains the bulk of the storage requirements.
The tool also allows you to refresh an application's buffered information at any time, update changes that may have occurred since you last checked, and manage the properties of the scheduled applications.
By using the tool, you can personalize the Player configuration options and access relevant information regarding the Player.
You can access the
tool by clicking ![]() at the bottom of the EXEtender Player, which
opens the
window, or by clicking on: Start->Programs->EXEtender->EXEtender
Settings.
at the bottom of the EXEtender Player, which
opens the
window, or by clicking on: Start->Programs->EXEtender->EXEtender
Settings.
The window has six main tabs:
l
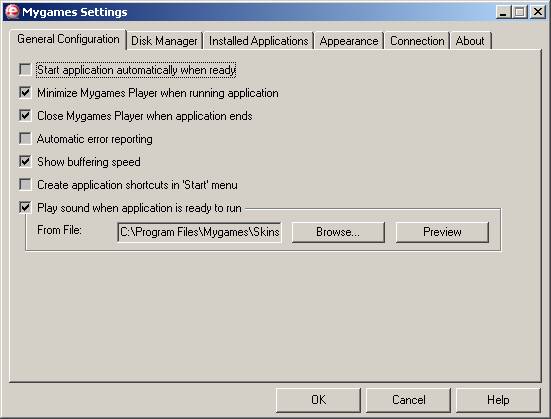
The General Configuration tab enables you to
personalize the Player configuration options.
l
The enables you to view and manage the amount
of space allocated to the EXEtender Player on your hard-drive.
l
The Installed Applications tab enables you to
view and manage your buffered and scheduled application’s information.
l
The Appearance
tab enables you to choose your preferred language and also see what
Player’s skin is being displayed.
l
The Connection
tab enables you to specify the proxy-server settings for your LAN
connection.
l
The About tab enables
you to access relevant information regarding the Player.
General Configuration
The section allows you to custom configure the EXEtender Player. Each time the Player is invoked these setting are read and the Player dynamically configures itself to the specified functionality.
From the General Configuration tab, you can:
l
Manage the functionality of the Play button.
l
Define the Player’s status while running an
application.
l
Define the Player’s status when shutting an application
off.
l
Manage the sending of error reports to the service
center.
l
Request presentation of the buffering speed.
l
Enable the application’s shortcuts creation in the
‘Stat’ menu.
l
Manage scheduling functionality.
l
Manage sound functionality upon application launch.
Click here for more
details.
Disk Manager
The EXEtender Player has a designated folder on your hard-drive where it stores buffered applications. This folder has a predefined amount of disk space that it can use to store buffered applications. The Player displays this information in the tab of the Player's window.
From the Manager tab, you can:
l
View all relevant information pertaining to the
Player's designated hard-drives.
l
Manage the Player's allocated disk space for each hard-
drive.
l Control the amount of space the Player uses to buffer and store application information.
Click here for more details.
Installed Applications
Each application you run saves its buffered information in the
Player's designated file area. This area is defined when you install the
EXEtender Player for the first time. The “” tab displays information specific
to each application that you have rented.
From the tab,
you can:
l
View all relevant information pertaining to a buffered
application.
l
Manage your buffered applications.
l
Perform procedures on buffered applications.
l
Manage scheduled applications
Click here for more details.
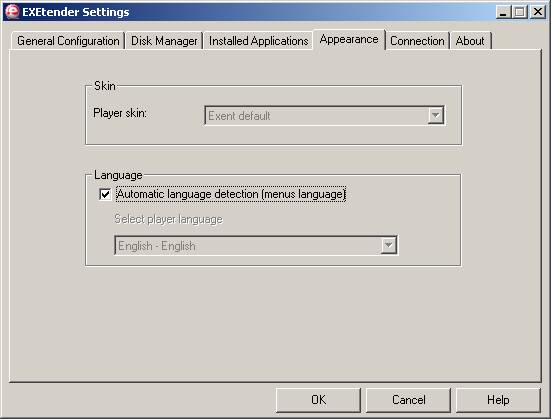
Appearance
The EXEtender Player has an automatic language detection engine that is able to recognize you preferred language according to the language of the OS installed on your PC. The tab enables the modification of the language interface and player skin. The automatic language detection can be activated, or the preferred language for the Player can be selected manually.
Connection
The tab enables you to control the proxy-server settings for your LAN connection, by using the next options:
l “Automatic proxy setting” – Use the proxy-server settings as was defined in the Internet Explorer settings [recommended].
l “Connect through a proxy server” – Use a specific proxy address and port as was defined by the service provider (ISP) or at your home network.
l “Do not use a proxy server” – Prevent from using a proxy-server.

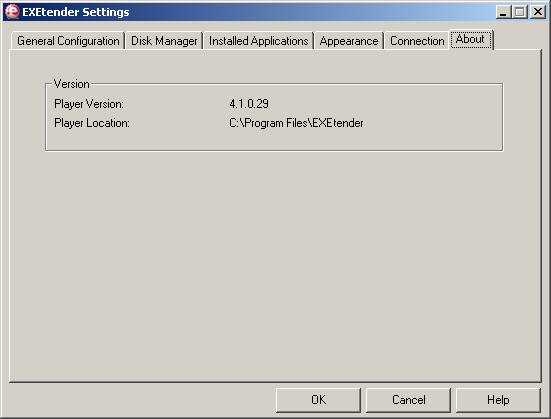
About
The tab displays installed version and location of the EXEtender Player.
Managing Your Player’s General Configuration
Personalizing the Player configuration options:
The tab enables you to manage the following Player configurations:
l Start application automatically when ready
l Minimize the EXEtender Player when running application
l Close the EXEtender Player when application ends
l Automatic error reporting
l Show buffering speed
l Create application shortcut in the ‘Start’ menu
l Enable scheduling
§ Enable scheduling on Start-up
§ Notify when the scheduled application is ready
l Automatic error reporting
l Play sound when application is ready to run
Managing Installed Applications
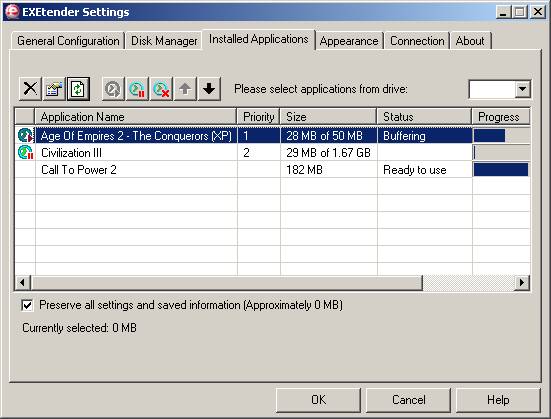
Viewing Information in Installed Applications
The tab contains Information Columns that enable you to view relevant information relating to your buffered applications. The following list describes the tab's information:
|
Column Name |
|
|
Application Name |
Shows the buffered application’s name. |
|
Priority |
Order of scheduling |
|
Size |
Size of cache or size of cache out of the full buffering size |
|
Status |
Status of the application cache: · Saved data only – contains only personal data. · Buffering – Application information is being buffered. · Ready to use – Application is ready to use without delays. |
|
Progress |
Buffering progress bar |
|
Operating System |
Indicates which OS the application was operated out of. |
|
Disk |
Shows, which disk the buffered application resides on. |
Using the Buttons in Installed Applications
The Procedure Buttons enable you to perform procedures on your applications, while the Standard buttons enable you to control the window and get Help when necessary.
The following list describes the tab's Standard and Procedure Buttons:
|
Button Name |
|
When clicked,
this button...
|
|
|
Removes buffered information for the selected application.
A confirmation dialog appears and allows the user to maintain saved files |
|
|
|
Displays the selected application's properties and gives
you the option to make the application static, which stops the Player from
automatically initializing the application when it requires additional disk
space to buffer an application. |
|
|
|
Updates the buffered and scheduled applications’
information |
|
|
Start Scheduling |
|
Starts buffering a non active scheduled application (Available only for a scheduled application) |
|
Pause Scheduling |
|
Pauses the buffering process of the active scheduled application (Available only for a scheduled application) |
|
Stop Scheduling |
|
Stops an application from scheduling (Available only for a scheduled application) |
|
Up |
|
Increases priority of a selected scheduled application (Available only for a scheduled application) |
|
Down |
|
Reduces priority of a selected scheduled application (Available only for a scheduled application) |
Removing Applications
To remove an application from your system:
1. From the tab in the window, select the applications you want to remove (The disk space that will be freed is displayed bellow the applications list)
2. Click . A small pop-up window opens asking if you are sure you want to remove the buffered application from your system. You may choose to leave only the application’s settings and saved information
3. Click . The application is removed from your system.
2 All applications that you remove from your system must be buffered again the next time you use them.
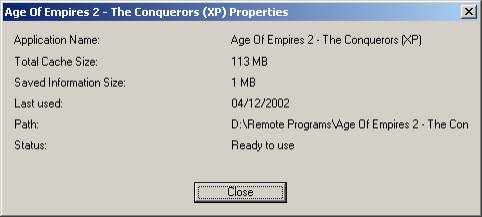
Viewing Application Properties
The Application Properties window allows you to view the cache size, saved information size, date of last usage, path and status of your buffered applications.
Refreshing Applications
The
feature updates information such as the size and status of all the
applications.
Managing Scheduled Applications
Start Scheduling
When you have multiple applications that are scheduled to be buffered to your machine, the “Start scheduling” button enables you to choose the application that you want to start its scheduled buffering right now.
To start buffering of a scheduled application:
1. From the tab in the window, select the application name you want to start scheduling.
2. Click “. A start icon will appear on the left hand side of the selected application.
Pause Scheduling
When you have an application that is scheduled to be buffered to your machine, the “Pause scheduling” button enables you to pause it from scheduling and to schedule it later on.
To
pause buffering of a scheduled application:
1. From the Installed Applications tab in the Settings window, select the application name you would like to pause.
2. Click “Pause scheduling”. A pause icon will appear on the left hand side of the selected application.
Stop Scheduling
When you have an application scheduled to be buffered to your machine, the ”Stop scheduling” button enables you to erase the application from the scheduled application list.
To stop the buffering of a scheduled application:
1. From the tab in the window, select the application name you want to stop scheduling.
2. Click . The application will stop buffering.
2 All scheduled applications that you stop from your system must be buffered again in order to use them.
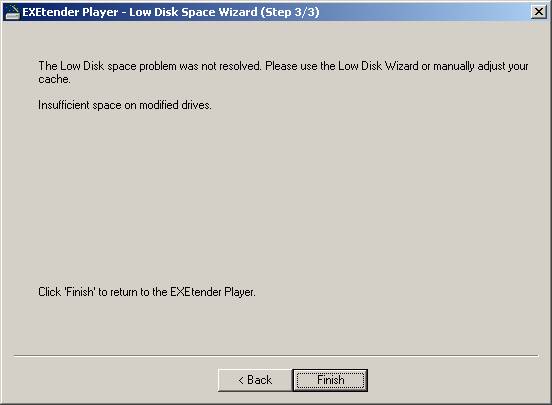
Managing Your Disk Space
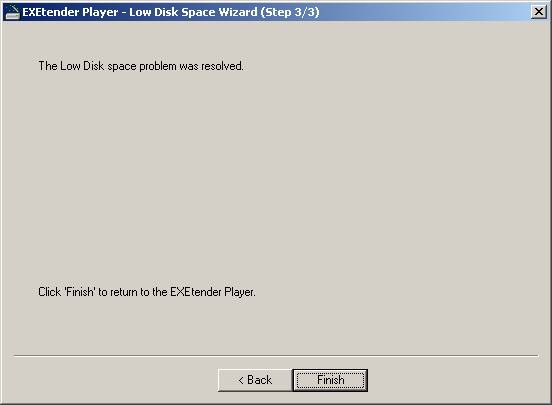
HD Space Wizard
When the HD space allocated for the AoD service turns low, a new wizard will pop-up, enabling more disk space for the AoD service or asking permission to remove un-used buffered applications. You will be able to accept the wizard’s suggestion or perform the procedure manually.

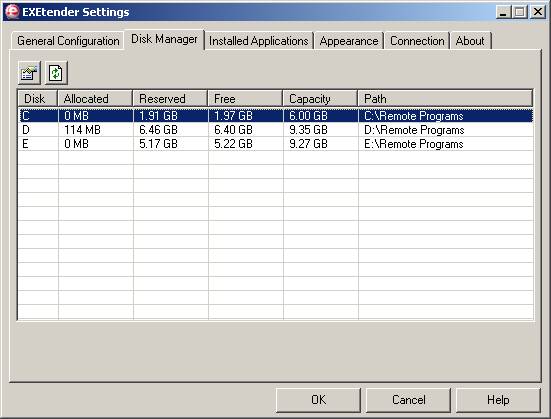
Viewing Information in the Disk Manager
The Manager tab contains Information
Columns that enable you to view relevant information about your disk drives.
The following list describes the
tab's Information Columns:
|
Column Name |
|
|
Disk |
Shows the drive letter(s) the EXEtender Player is
currently using. |
|
Allocated (MB) |
Shows the actual amount of disk space that buffered applications are currently
occupying on the drive. |
|
Reserved (MB) |
Shows the total amount of disk space reserved for
new-buffered applications on drive. |
|
Free |
Shows the total amount of disk space still available on
each drive. |
|
Capacity |
Shows the total space available on the HD in which the buffered application resides. |
|
Path |
The EXEtender Player saves buffered applications in this directory. |
Using the Buttons in the Disk Manager
The
tab's Procedure Button enables you to perform procedures on the disk drives,
while the Standard buttons enable you to control the window and get Help when necessary.
The following list describes the tab's Procedure and Standard Buttons:
|
Button Name |
|
When clicked, this button...
|
|
|
Displays the selected disks properties and gives you the
option to define the size of the disk that will be used by the applications. |
|
|
Refresh |
|
Updates the disks information |
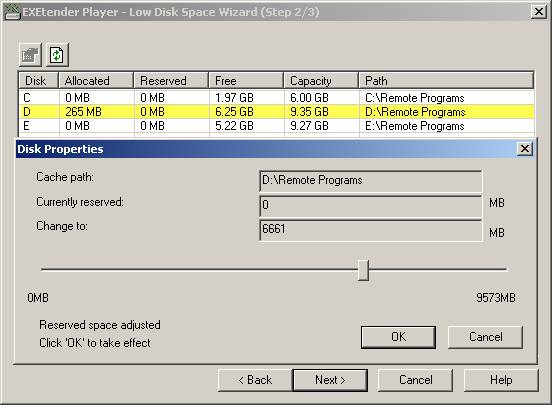
Managing Disk Properties
You can view and manage the EXEtender Player's buffered disk
properties at any time. The Disk properties window also allows you to increase
or decrease the buffered applications disk space. To access this functionality
select the
tab in the
window.
To view the
Player's Disk Usage properties:
1. Click the tab in the window.
2. Select the drive letter you want to view or change and click . The window will open.
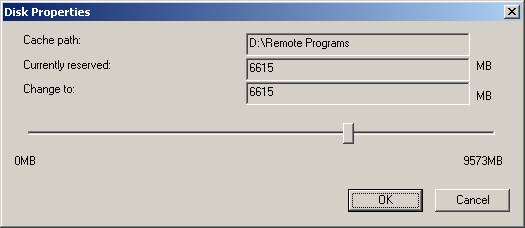
3. Move the cursor over top of the selector bar and move the slider right or left to increase or decrease the allocated buffered application disk space.
4. Click to save your changes and close the window.
2
You can prevent from using a specific disk by changing
it reserved size to zero.